
Kombucha is becoming more popular than ever in the health food world these days. It's finding it's way onto the shelf of most grocery stores and if you're lucky you may even find it on tap at your local health food hub! What most people do not know however, is kombucha can be brewed easily in your own home. Being the savvy homemade sage that I am, I decided to give it a whirl. The process is specific, but simple! But before we get into all that let's go back to the beginning...what exactly is kombucha?
Plainly speaking kombucha is fermented tea. Delicious, fizzy, nutritious fermented tea loaded with good for your gut bacteria and probiotics. If you are someone who finds yourself reaching for that diet coke around the 3pm slump, give kombucha a try! It is a great natural alternative to soft drinks and very inexpensive to make.
Kombucha is traditionally made with black or green tea, and sugar. During the fermentation process the kombucha's SCOBY (symbiotic culture of bacteria and yeast) eats up the sugar in the tea and converts it to rich probiotics that help populate our gut with good bacteria. Now don't let all this talk of cultures, and bacteria, and yeast turn you off. You may be thinking I'm drinking what now? But trust me when I say your body needs these probiotics! With the amount of sterilization, disinfectants, antibacterial soaps, & antibiotics floating around in our society, our body needs all the good bacteria it can get. When we are exposed to these things through our food, our environment, and our medications, they are killing off the bad AND good bacteria. It is our job to make sure we are replenishing our gut with as much good bacteria we can.
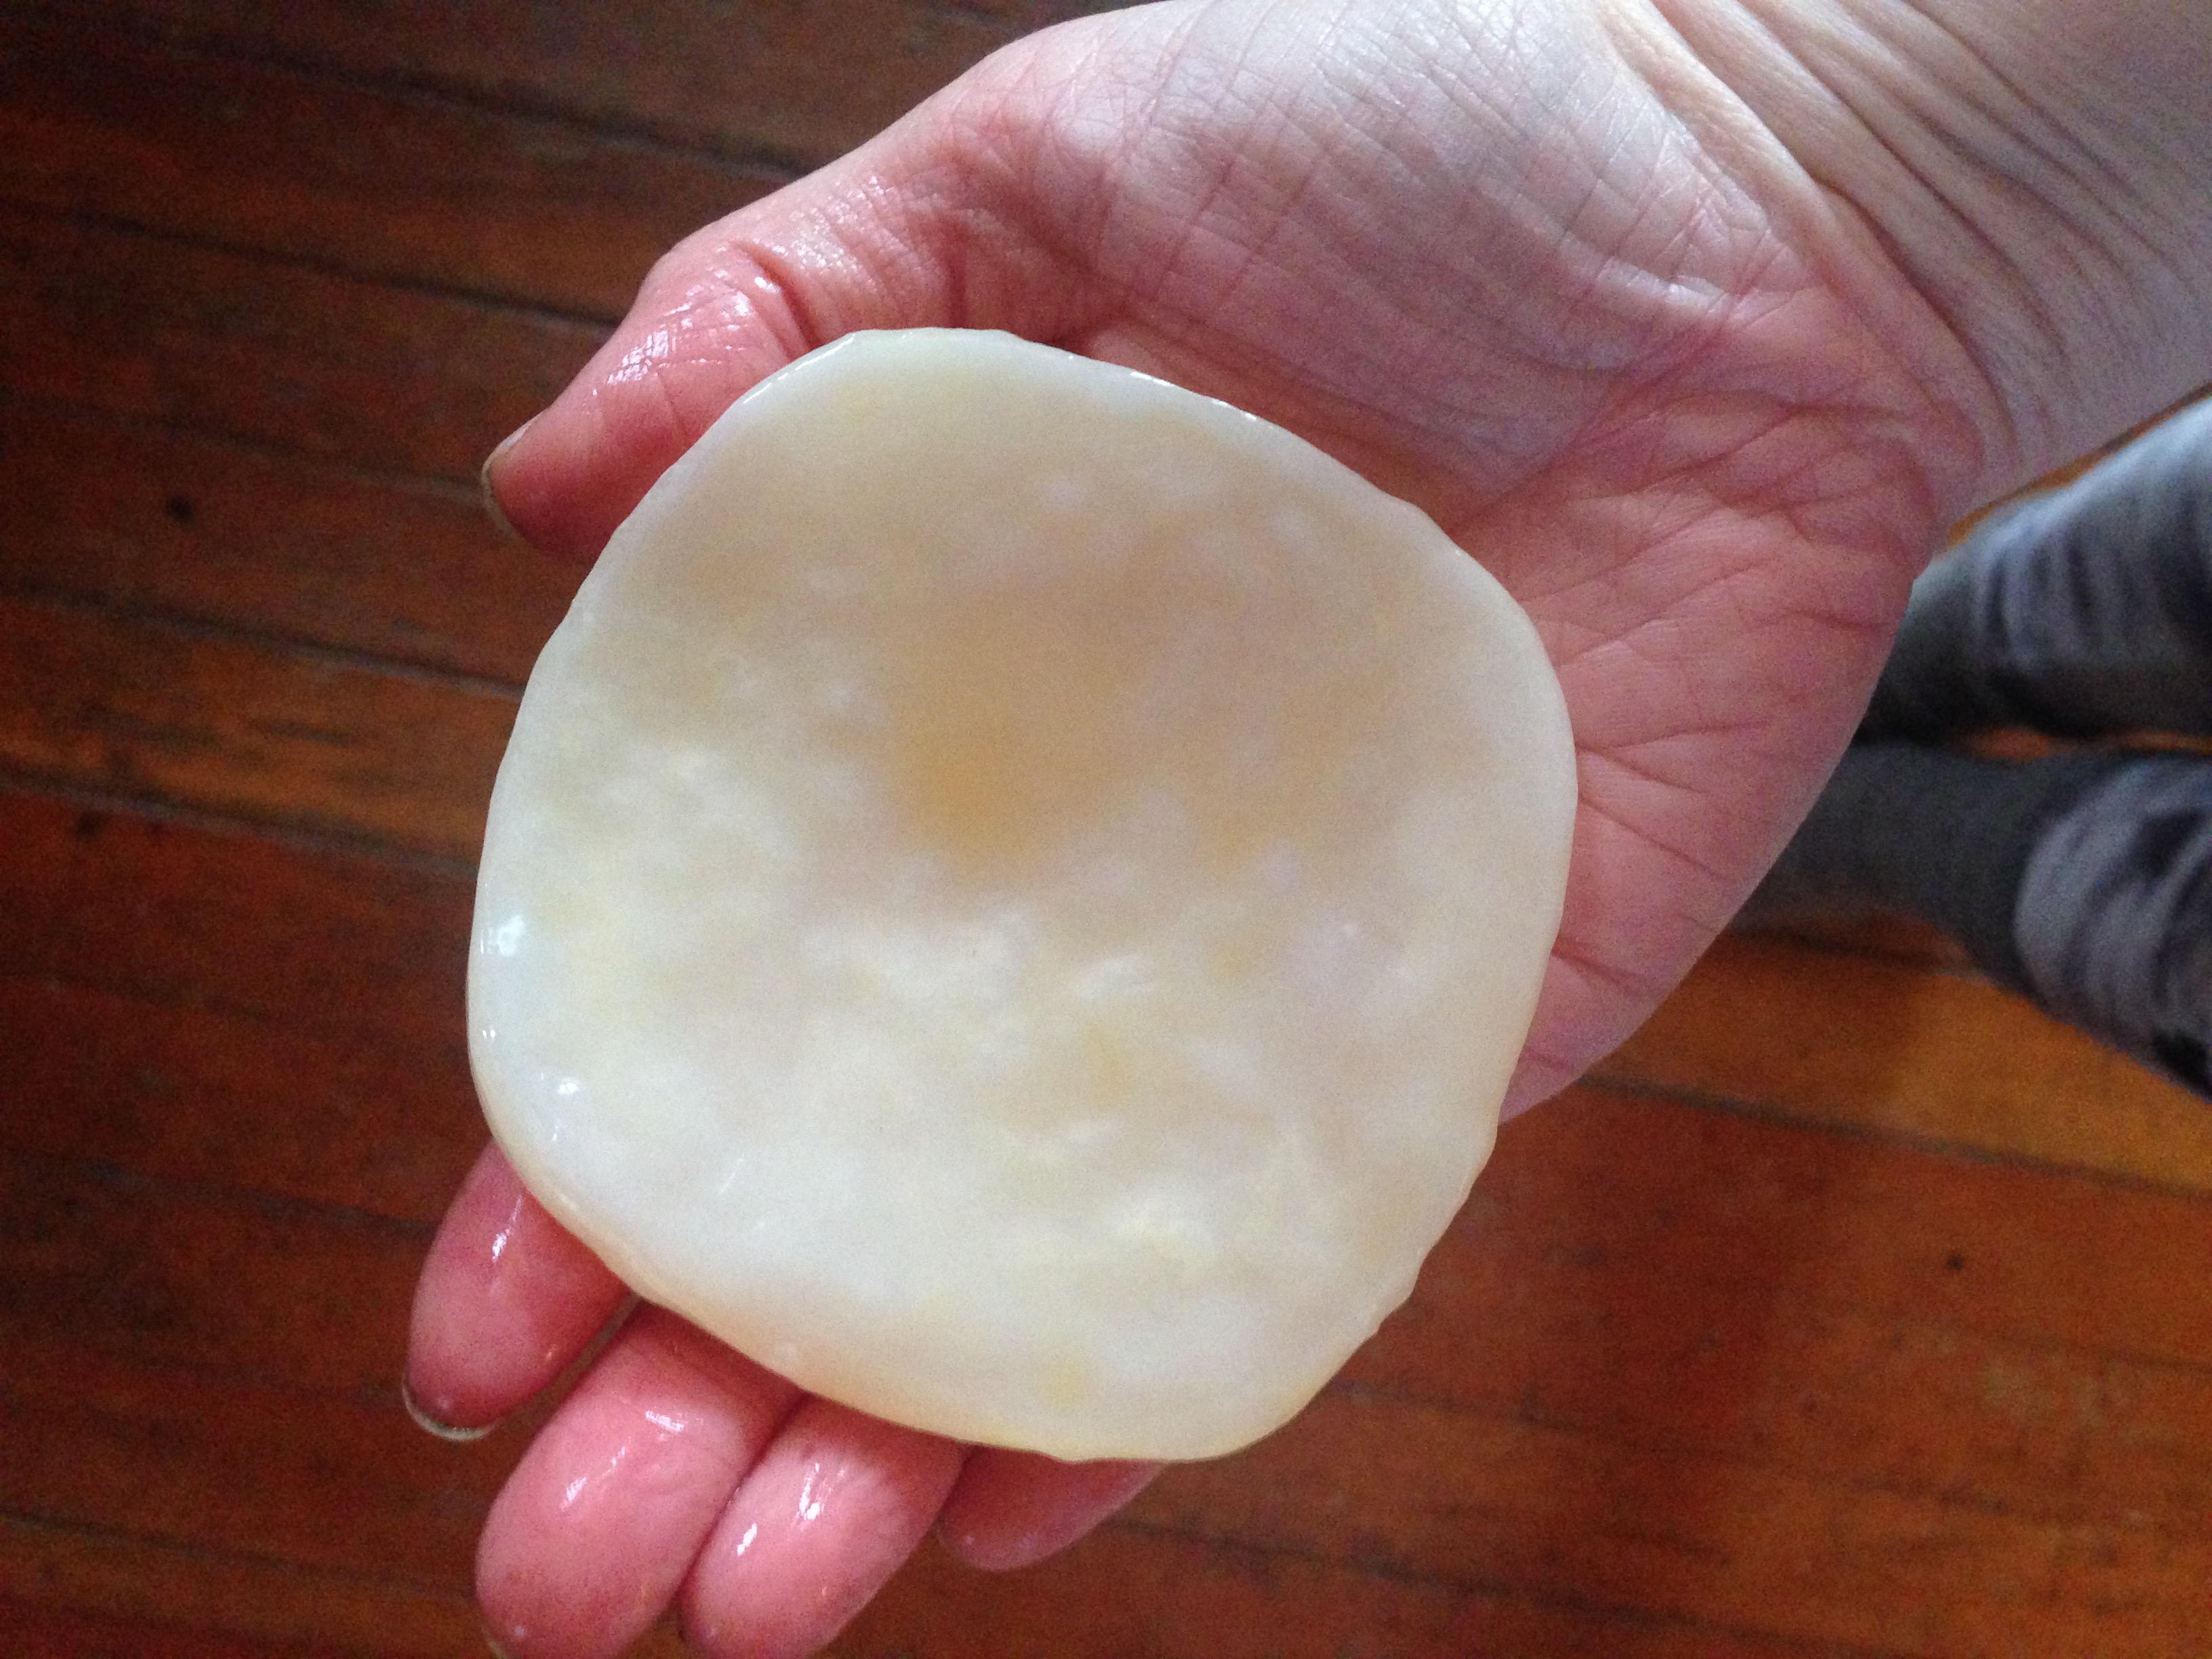
So lets talk more about this SCOBY and how kombucha is actually made. The SCOBY is a small (about the size of your palm) circular culture that looks a bit like this:
When placed into the tea mixture, it takes the scoby about 7-10 days to eat up the sugar, which allows the good bacteria to thrive. The longer you let the kombucha ferment, the more time the SCOBY has to eat the sugar, and the less sweet your tea will become. If you like your kombucha to have a sweeter taste compared to a tart one, start tasting it sooner and bottle it once it is at the desired taste.
Now where to get a SCOBY? SCOBY's can easily be purchased online at sites like ebay, amazon, or etsy. You can buy them from retailers like fermentaholics. You can also find starter kits in some grocery stores, or get them from a friend who brews kombucha at home. With each batch that you brew, a new SCOBY will form in the jar along with the original. Some people store these SCOBYs and give them away to others or throw them away if they are not using them. Whatever the case, if you choose to keep the new SCOBY it must be stored in a sterilized jar filled with 2 cups of the original brew. Often people refer to this as a "SCOBY hotel" and you can store multiple SCOBYs in the jar.
You will also need 2 cups of a kombucha starter tea. I recommend getting this from your local grocery store. The most common brand you will see on the shelves is GT's. This is a trusted high quality brand that has been around for a long time. Another brand I love is Health-Ade Kombucha. With any brand you choose, always investigate the integrity of the recipe by reading the ingredients and making sure it truly contains what you are looking for. When selecting your starter tea, use the original and avoid anything with added flavors. It may look tempting, but use that for inspiration when creating your own flavors during the second fermentation.
Home Brewed Kombucha Recipe
You will need:
Materials
- 1 gallon glass jar
- smaller glass jar for starter tea/SCOBY hotel
- cheese cloth
- rubber band
- funnel
- 6 air tight bottles (16 oz)
- distilled white vinegar
Ingredients
- I cup organic cane sugar
- 6 black tea bags (or 6 tsp loose leaf)
- 14 cups filtered water
- 2 cups starter tea
- 1 SCOBY
Instructions
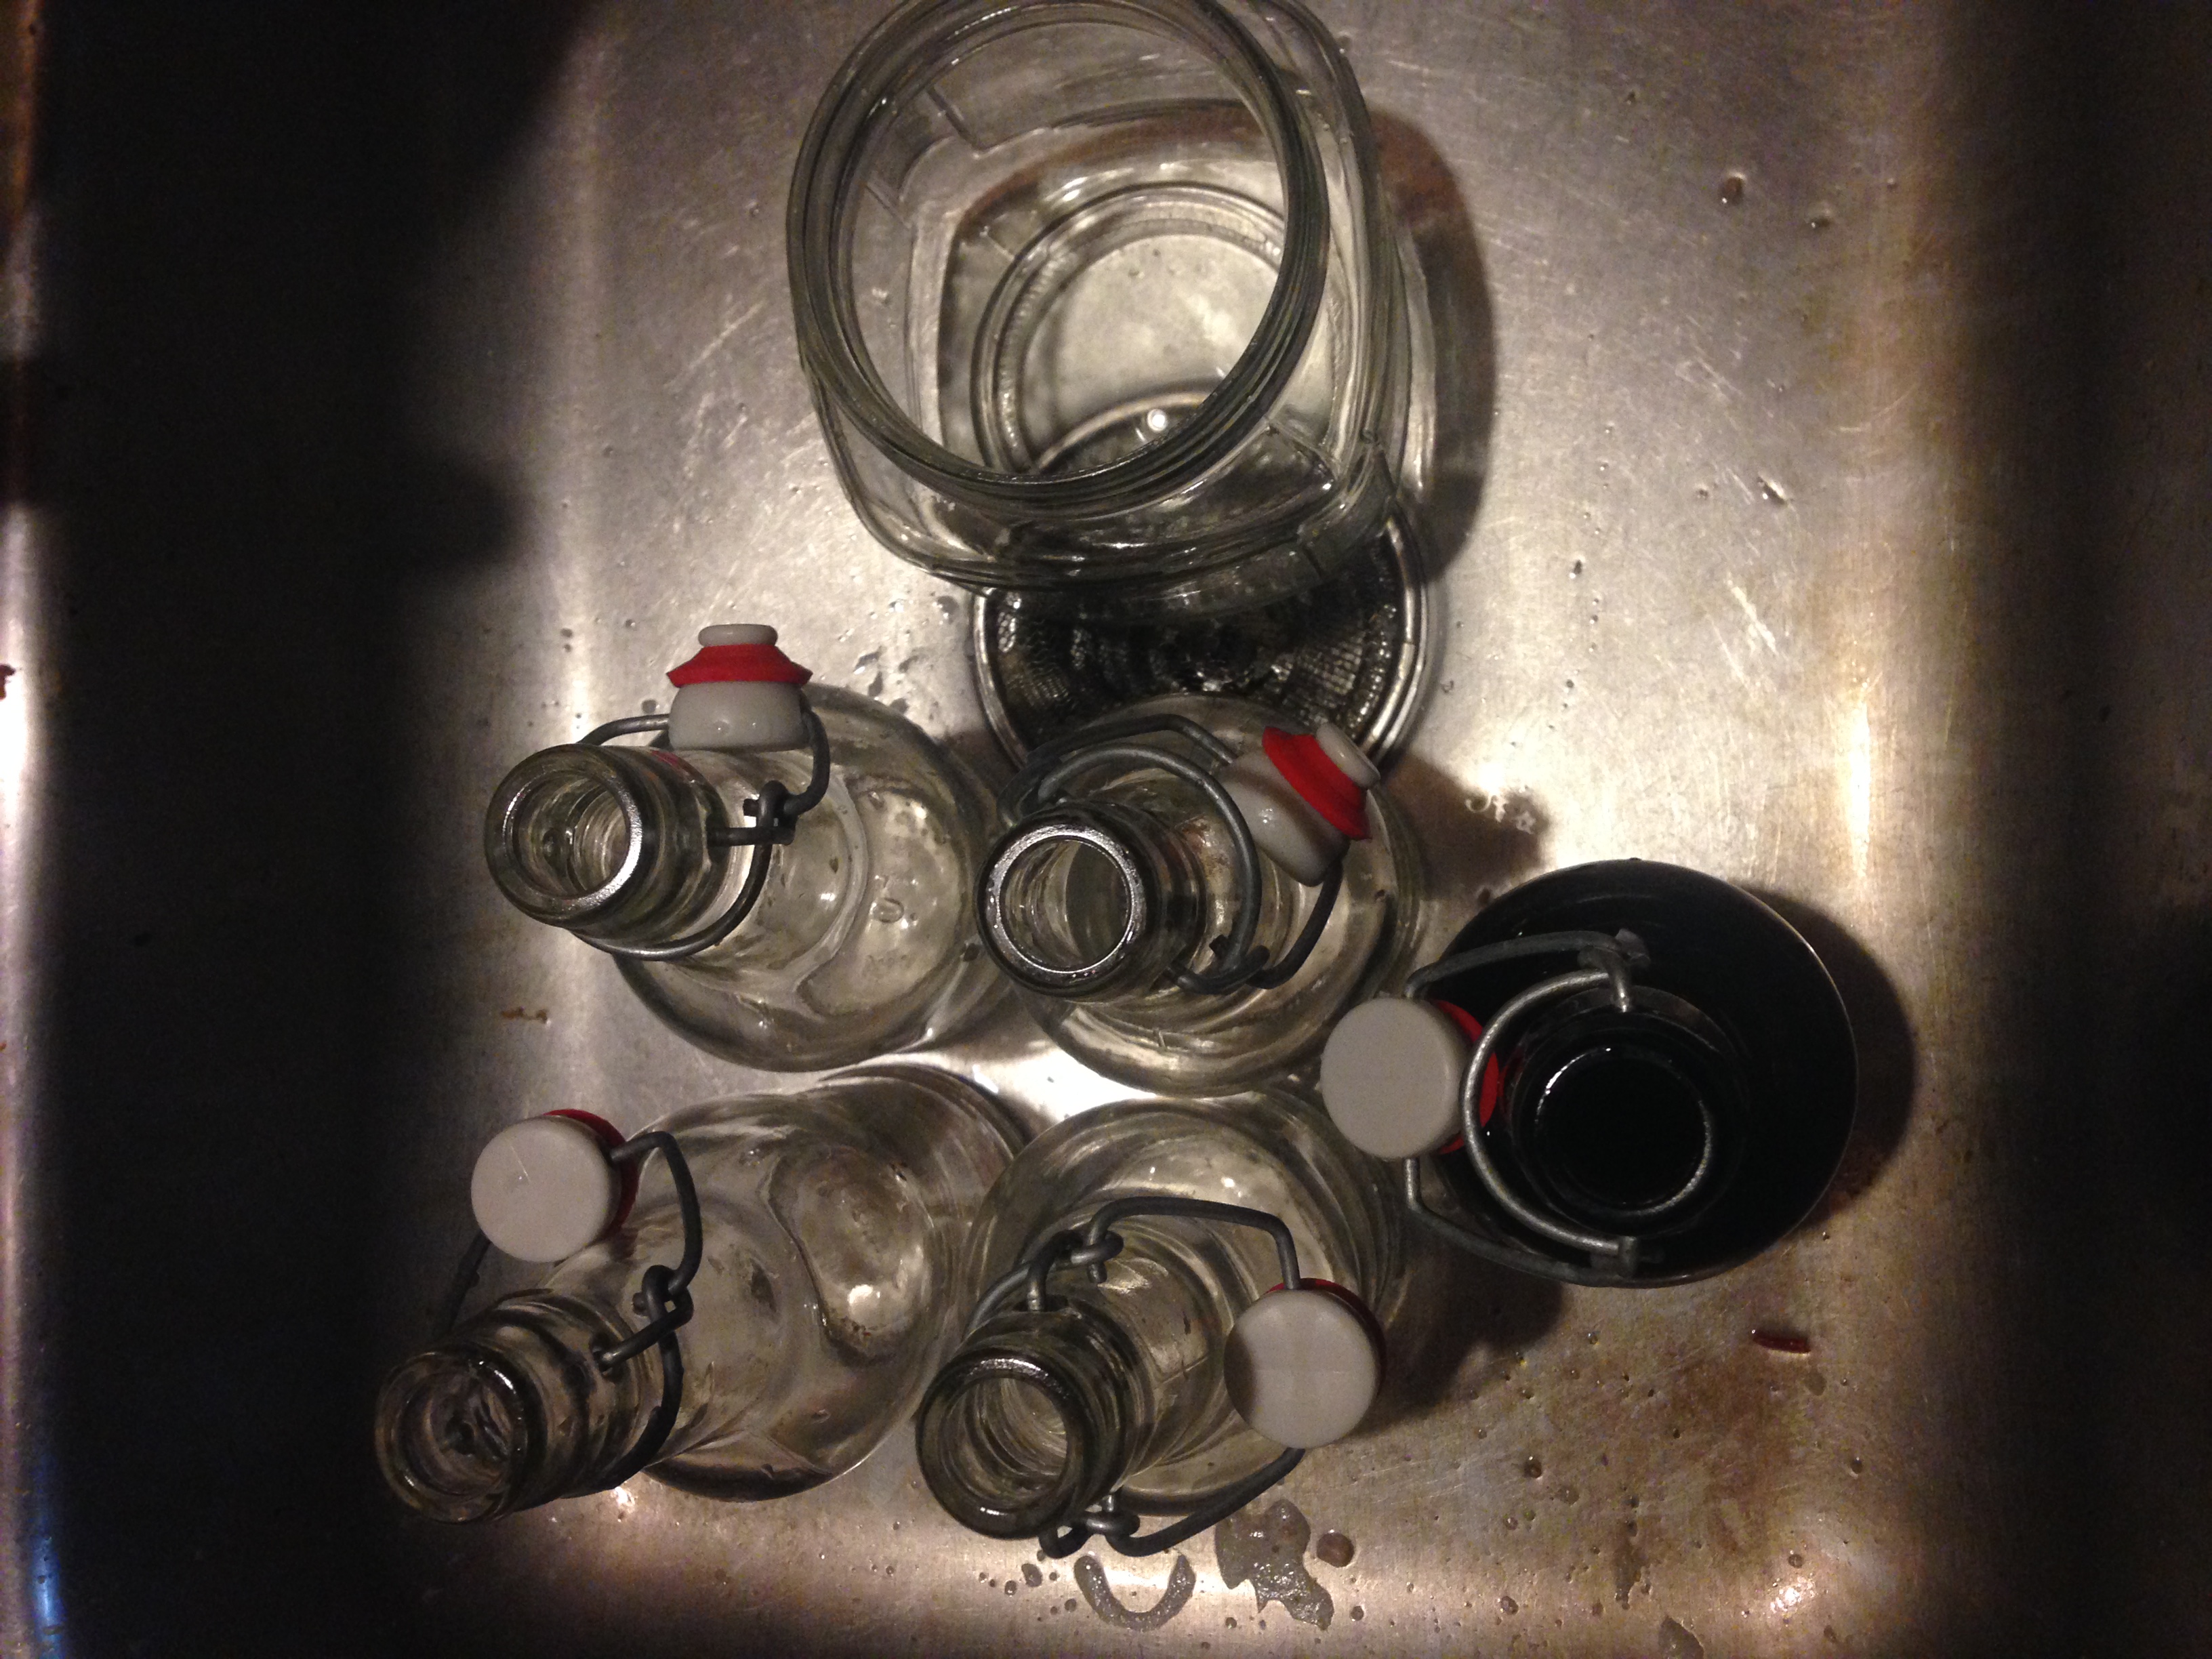
The first thing I like to do is sterilize all my equipment with hot water and vinegar. I do this to kill off any remaining soap residue as soap has the potential to kill off the bacteria you are trying to cultivate. For this portion you will need the 1 gallon glass jar, and the smaller glass jar. We will use the air tight bottles once the first fermentation is done (7-10 days).
Bring 2 cups of filtered water to boil on the stove. Once boiling, remove from heat and add tea bags. Steep for 10 minutes, then remove the tea bags. Add sugar and stir until dissolved. Add the tea to the 1 gallon jar along with the SCOBY, and the 2 cups of starter tea. Fill the jar with the rest of the water. You should not fill the jar completely to the top. There should be about 3-4 inches of space left. Cover the jar with a cheese cloth, or if you don't have one on hand a coffee filter will work, and secure with rubber band. Store in a dry warm space for 7-10 days.
After a week begin tasting your tea. Once it is at the desired taste it is time for the second fermentation. For this portion you will need to sterilize the air tight bottles and the funnel. It is also fun to gather some flavors for your kombucha at this time. Possible flavor options include fruits, vegetables, herbs, and spices. Aways try and use fresh fruit instead of store bought fruit juice. This will protect the integrity of your kombucha without adding any perservatives or artificial additives to your tea. If you have a juicer at home, this is a great way to add carrot juice, beet juice, apple juice, or pear juice, whatever your favorite juice recipe may be. Get creative! If you do not have a juicer, you can grate things like bet and carrots, or cut into small chunks. One of my favorite go to recipes is 2 oz of fresh lemon juice and 1 tsp of grated ginger.
Now you are ready to bottle.
First measure two cups of kombucha. Remove that and the SCOBY and add it to the smaller jar. This will be your starter tea for the next batch, your SCOBY hotel. You will notice that a smaller scoby has formed at the top of the kombucha and the original has floated to the bottom. This is ok and natural. You can either store the new SCOBY with the original or throw it out if you do not plan on using it. Cover this jar with the cheese cloth and set it aside in a warm, dry place until you are ready to make your next batch.
Gather your flavors and add them to the bottom of each jar. For dried herbs I add 1 tsp, and for juices I add 2 oz. Then using the funnel, fill each jar with the tea leaving about an inch of space near the top. Seal the bottles and keep them in a warm, dry place for a few days. This second fermentation period creates the carbonation in your drink which makes it fizzy. The longer it sits, the more carbonated it will become. Pop the lids once a day to release some of the carbonation. You don't want too much carbon to build up or your bottle may explode! After a few days move your bottles to the fridge. They are now ready to enjoy!
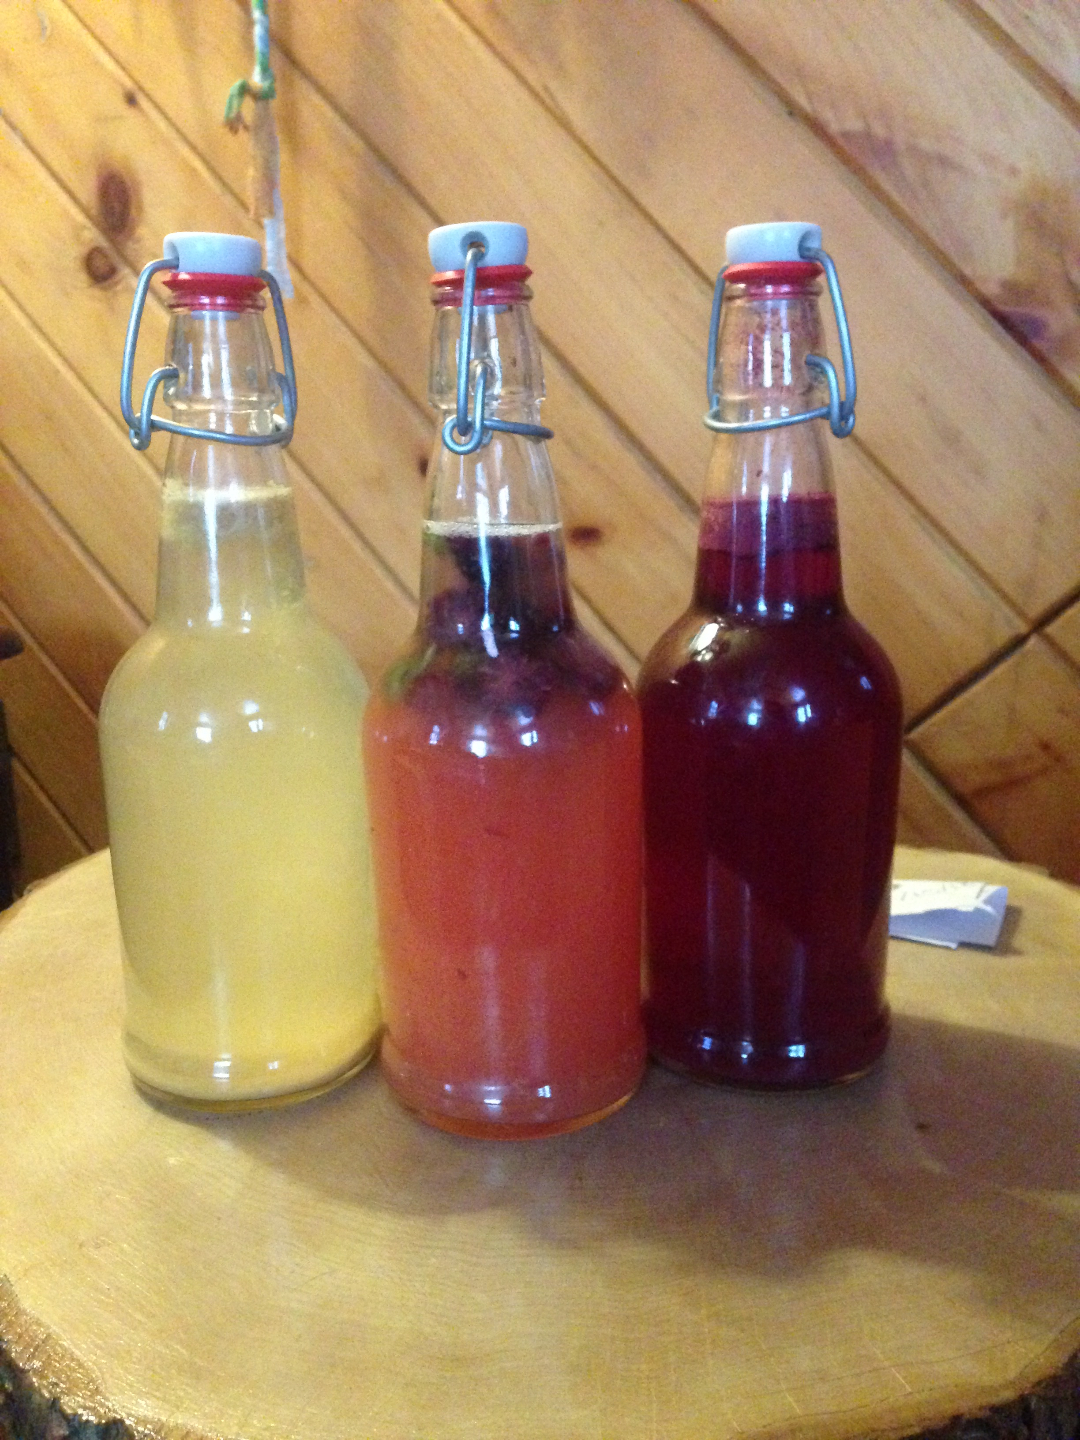
From left to right: Lemon ginger, blackberry basil, beet ginger